Sunday, January 11, 2015
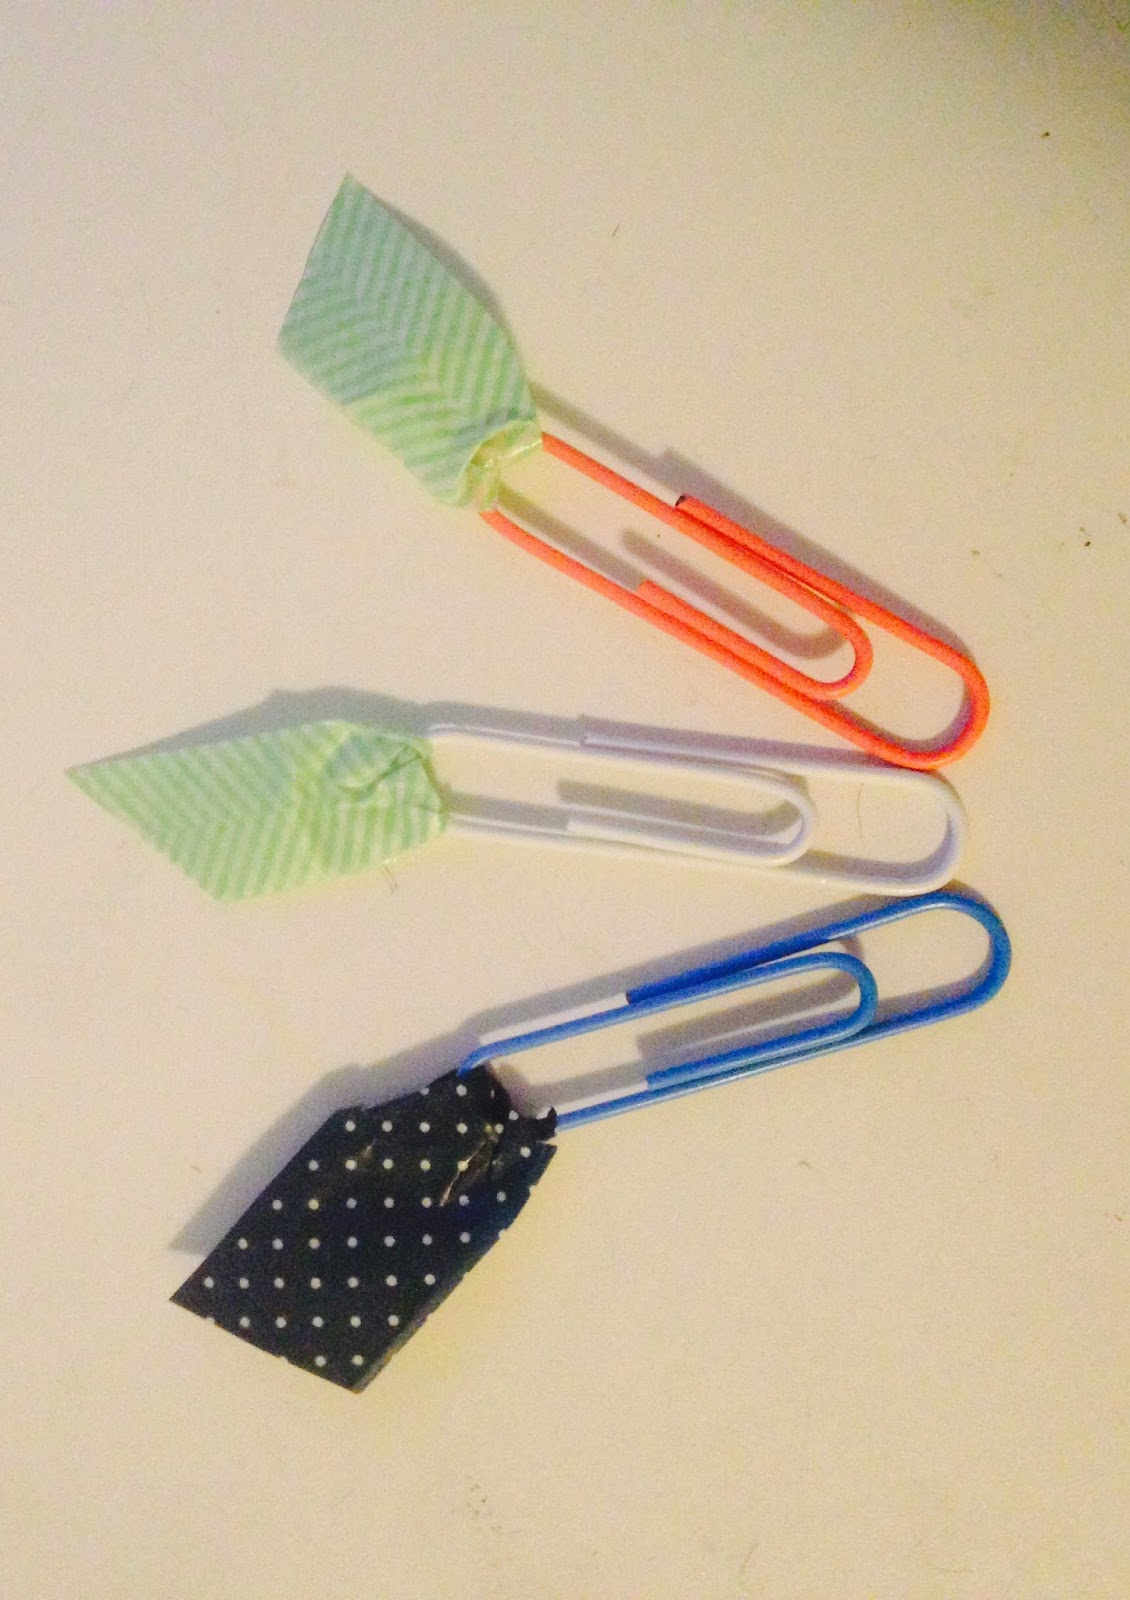
Cute Paper Clip Bookmarks
Tuesday, December 23, 2014
Christmas wreaths
How to make Christmas wreaths
Step 1: Cut out a ring. I traced 2 circles (using a plate and a bowl) so they were perfect circles.


Step 2: Cut out many leaf shapes. (Have more than the picture has)

Step 3: Hot glue the corner of the leaf to give it a rounder shape.

Step 4: hot glue all the leaves around the ring. (Layer by layer). The number of layers depends on the size of the wreath,
Step 5: hang your beautiful wreath in a nice spot!!! :D
Mini Presents
How to make cute mini presents
Materials Needed:
-glue gun
-colored paper
-sissors

First: cut you paper like this (Paper must be square).
Step 2: Fold up each paper flap (half way)
Step 3: fold up the inside of the paper flaps too!
Step 4: Hot glue all the pieces together to form the roof or top to the box. 

Step 5: Now you have your box! You can add decorations like ribbons and bows to it.
Step 6: cut 2 strips of either ribbon or paper. Then hot glue them to the present (or tie a bow).
Step 7: Make bows! See below for all the different types of bows! They aren't too complicated so pick which one is your favorite!


Step 8: put these adorable presents under a tree or somewhere to decorate!
Comment how this project went and which now you like best!
Thursday, November 27, 2014
Thanksgiving Placemat
I made nice placemats for decoration for Thanksgiving. It's takes quite a bit of time. I made one in 45 minutes.


MATERIALS
-2 pieces of brown paper
-orange paper
-green paper
-yellow paper
-red paper
-scissors (or cutting board)
-tape
Step 1) cut out the brown paper into 11 strips. (Use a cutting board if possible)
Step 2) do the same to each colored paper but cut them the taller way (only 3 orange, 3 yellow, 3 red, 2 green)
Step 3) tape brown strips onto brown paper
Step 4) weave colored strips through brown strips that are taped down.
Step 5) tape the strips once done
Step 6) repeat steps 4 and 5 until you have used up all your strips!
Wednesday, November 26, 2014
Turkey Place Cards
These cute turkey place cards make a great decoration at your Thanksgiving dinner table! 
You can make these by scratch or buy the kit! I got a kit for these at target. Buying the kit is much easier because you don't have to glue them or cut out the shapes. Also it comes with everything you need! 
Have a great Thanksgiving and put these cards out on the table before you eat! :)Sunday, November 16, 2014
Paper Pumkins


How to make them:
1) cut 4" by 3/4" strips of paper (example: orange)
2) cut out a circle for base (same color as strips)
3) cut out a green circle (zig-zag scissors if you have)
4) hot glue the tips of strips to circle base
5) hot glue other tips to the green roof
6) cut out small green strip (very small)
7) roll up green strip (this will be your stem)
8) cut out a small green square
9) put hot glue on top of green stem
10) place square on tip of stem
11) shape the square to the stem (cut w/ scissors)
12) glue stem to pumpkin roof
13) cut out THIN AND LONG piece of green paper
14) curl the THIN AND LONG piece or green paper (works best on a pencil)
15) hot glue curly piece on the pumpkin
16) smile because you made a beautiful pumpkin
DIY Leaf Roses
 Hi guys! Our troop recently had a progressive dinner, and as a decoration, we all made leaf roses. They were really fun to make! Click here to learn how to make them! They may take a few tries, but you'll get it eventually! The instructions call for florist's tape, but we used masking tape and they turned out fine. This would be a great craft to put out on Thanksgiving! Have fun crafting!
Subscribe to:
Comments (Atom)